Flossing with braces has got to be one of the biggest challenges a person can face. After all, your mouth is full of brackets and wires and there is a lot to try to work around. The good news is that if you know all the best tips, you can floss around your braces and get the job done.
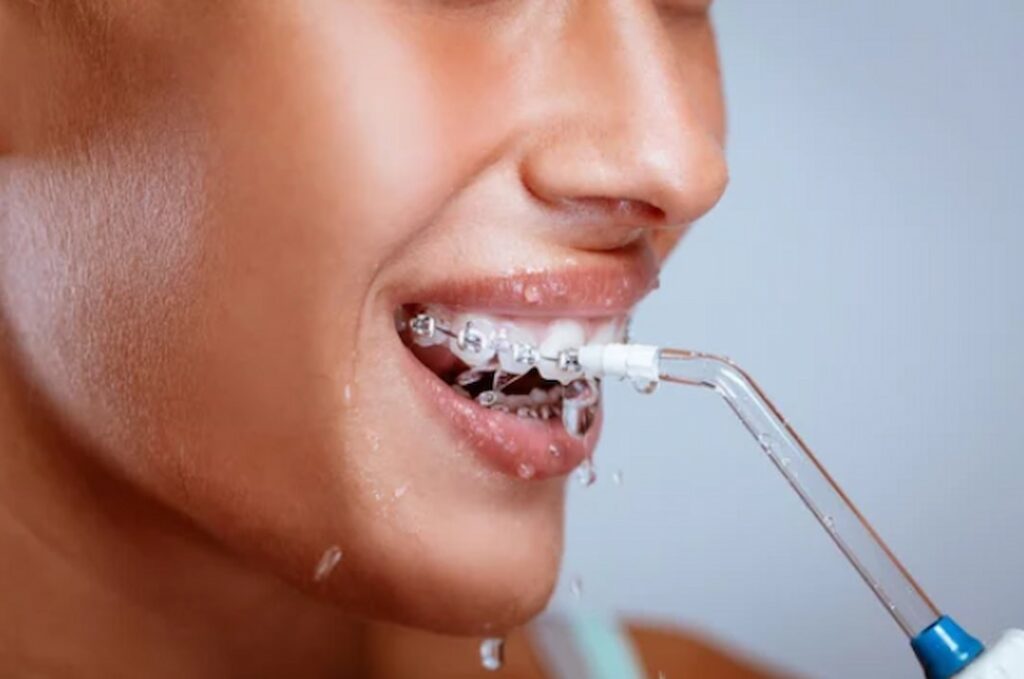
You might also want to consider using something like a water-pik. These spray water in a specific flow and you can use them to help get all those little hard to reach places. They are useful with and without braces.
Check out this guide below to help you learn how to best floss with braces.
Flossing with Braces the Traditional Way
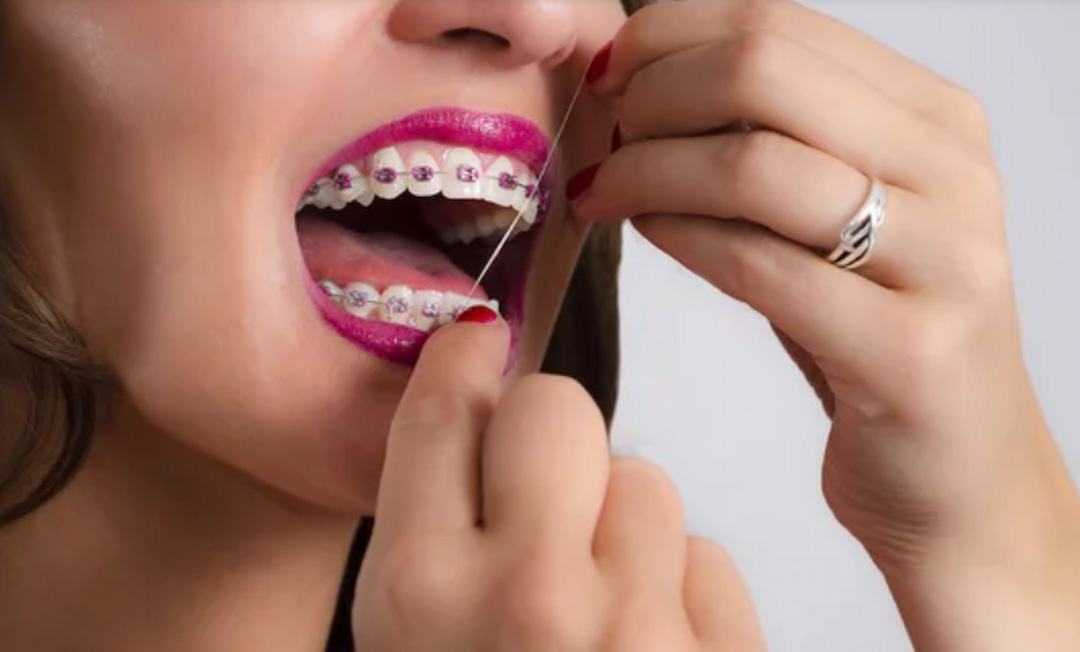
What most people don’t realize is that you can keep flossing with normal dental floss, even after you get braces. The problem is that it can be more challenging to be able to reach with the dental floss and get your hands where they need to be.
Many people find it challenging to get traditional floss all the way up to their gums because of the wires that are in place. However, there are some tricks that might help you. Take a look at these steps to floss the “normal” way.
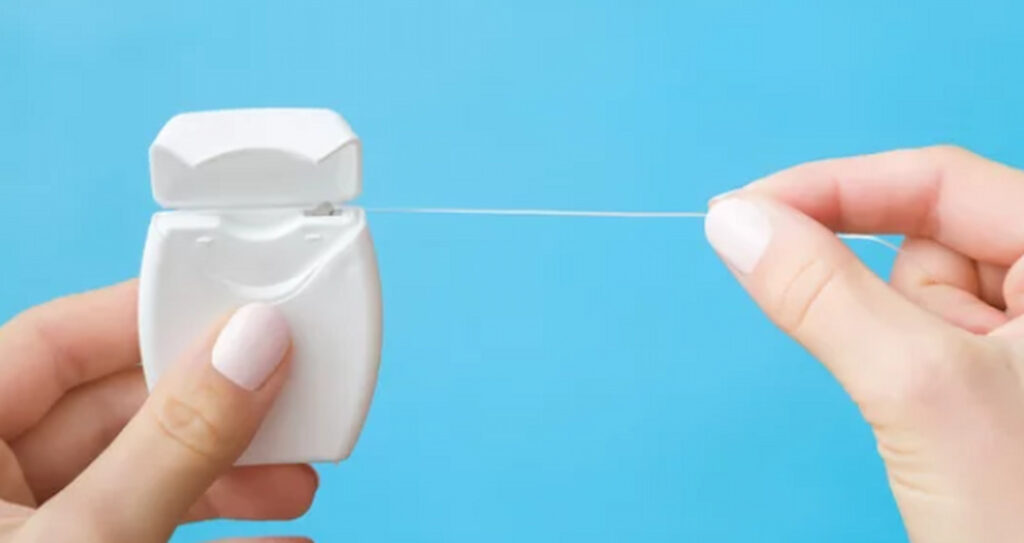
- Prepare a piece of dental floss that is somewhere around 24 inches long
- Stand in front of a mirror so that you can position the floss properly.
- You will need to thread the floss between the wire and your teeth to be able to reach
- Once you’ve got the floss between the wire and teeth, you can wrap the ends around your fingers like you typically would.
- Now, move the floss between teeth to floss as normal and reach clear to the gums. Slide the floss just as if you were flossing without braces now.
- Now move the floss to the next set of teeth and repeat the process.
This procedure could take quite a bit longer because you do have to re-thread the floss between the wires and the teeth each time you move to another set of teeth. You also need to be very careful that you don’t hit the wire or the brackets and then knock them loose by mistake.
This is one of the more challenging solutions with braces but it’s certainly doable.
Flossing with a Flossing Tool
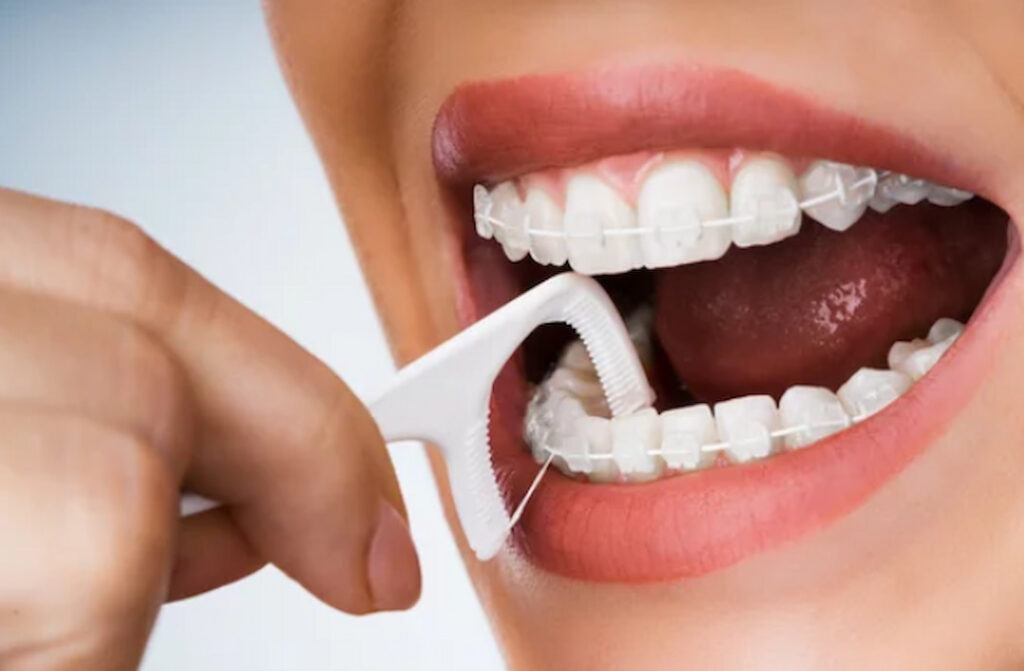
Another option if you like the idea of using regular floss is to use a flossing tool. These are called flossers or floss threaders and they are typically a one-time use that you throw away, just like regular floss. They are just much easier to navigate.
The flossers are set on a small plastic tool with a couple of inches of floss threaded on the tool. They are quick to navigate and use and far easier than the “normal” method we shared above. There are flossers like these that are designed for orthodontics. They have an angled tool to be able to reach better behind the wire.
Follow these steps to use a flosser tool.
- Grab a flosser tool from the package
- If it is an angled tool, place the taller end to the back of your teeth.
- Move the flosser up and down and around on your teeth and gums, as you would with traditional floss.
- Once you finish one tooth, simply pull the flosser down and move to the next tooth with the same process.
- Repeat until you have flossed all teeth.
This is quick and easy and will be much more accommodating than threading traditional floss through your wire with every tooth. The opposite end should even have a pick on it in case you notice food stuck in your brackets.
This is a small piece of floss so you will likely need to rinse it off after every few teeth to keep it clean while you finish your full mouth.
Flossing Using a Water Tool
Finally, our last option is to use a water tool, like a water-pik to help with your flossing needs. There are several different types of tools out there so do some research and find the one that will best work for your needs. As long as you can project the water, you should be able to “floss” just fine with this tool.
These are great for getting a nice deep clean in and around your gums. It can also help you get a deeper clean around your braces without the fuss of floss which can be so hard to maneuver in there.
Follow these steps.
- Make sure the water reservoir is full and has plenty of water to take care of your flossing cycle.
- Check to be sure that your water-pik head is intact and positioned as it should be. Be sure it is clean as well.
- Add mouthwash if you would like to the water but this is not required.
- Position the water-pik to your teeth at the appropriate angle and get ready for some cleaning.
- Choose your setting and be sure to lean over the sink to avoid making a mess.
- Power the water-pik on and spray the water from tooth to tooth. Be sure to focus on your gums and around all your brackets to get these spaces clean.
A water flosser tool is quick and convenient. It’s simple to operate and will certainly help you get a better clean around your brackets and gums when you feel it’s a struggle to reach those places. They can also be great for reducing plaque and buildup.
Conclusion
It can be challenging to floss when you have braces, but there are options and tips that make it far easier to accomplish. Once you have the right tools and understand the processes, you can ensure that your teeth get as clean as possible.
Using the right processes for both flossing and brushing your teeth is what will help ensure that your teeth stay strong and healthy throughout the process.